
Subtitles don’t affect the quality of the original sound, the actors talk with “their” voices. You can always hear the slight rustle in the scene or the muffled whisper of a mysterious killer. Text subtitles are taken from the original discs – directly from the company that shot the movie. Distortions of the text are simply excluded. Subtitles don’t take up much space, and so you can store several translations to the film at the same time. For example, in addition to the original English text, you can store German, Russian and Brazilian subtitles.
Typically, the subtitles are formatted as text written in a medium-sized font and located at the lower part of the screen when watching a film. Subtitles are useful for people who don’t hear the sound in films, or who study the language. Subtitles sometimes contain supplementary info about what is happening on the screen – for example, director comments on the film and (or) explanation of hard to grasp places.
Subtitles are of two kinds. Built-in video file, such you will never see in the folder, they are packed with video and copied with it. The second type, it’s going to be a separate file, more often it’s a file with the extension “srt”. It contains all the text dialogs and the time when you need to exhibit this or that phrase. We advise you to remember that most players automatically look for a subtitle file, which is also called as a video, and if the player finds it nearby, it immediately displays them.
For example, if the video is called “Sample.mkv”, then the player will try to find the file “Sample.srt”. If the automatic detection doesn’t happen, you can always do it manually. We will observe how to turn on subtitles in a few players.
Windows Media Player
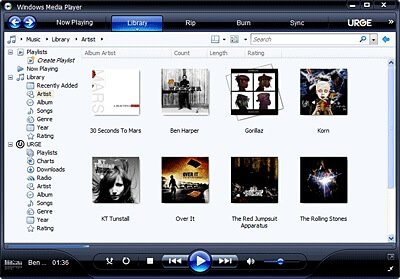
This is the default player for the Windows operating system. Perhaps that’s why it is the most popular. If you open a video with subtitles, then by default they should be included. If this isn’t the case, you can always right-click in the preview window and select “Lyrics, Captions and Subtitles > On, if available” from the drop-down menu. Now you should see the subtitles at the bottom of the video.
If the subtitles are in a separate file, then you need to do the following:
Move or copy the file with external subtitles and paste it into the video folder to which you want to add subtitles. Right-click on the subtitles and select the “Rename” option. Enter the name that was assigned to the video file, and press Enter.
Click the video with the right mouse button and select “Open With” > “Windows Media Player“. If the Windows Media Player is the default audio and video player, double-click the video file.
Right-click on the panel at the top of the player, move the cursor to the option “Song Words, Subtitles and Signatures” and choose “Enable, if available.” Close the player, and then restart it to enable the video with subtitles.
VLC
VLC is the most famous cross-platform player. Very functional, if you try it you can do everything that can be done in the player. And, of course, the subtitles aren’t the exception. Their settings are easily found in the “Video > Subtitles Track” menu. True, it didn’t automatically define a file with subtitles, but this isn’t a problem, because there is an option “Open File”.
Check if you have a file with subtitles to the movie/video. If not, download the subtitles from the Internet.
Play the movie/video in the VLC media player. Click the “Video” button on the menu bar. Select the “Subtitle track” option, and then click on the “Open file” button (a dialog box will appear). Select a file with subtitles for this movie/video and click “Open”. Download VLC and enjoy watching movies with subtitles in a few clicks.
Quick Time Player
The operating system macOS has its own player – Quick Time Player. In it, all the options related to the subtitles you can find in the menu “View > Subtitles”.
Media Player Classic
Also a very popular player for Windows, the interface of which looks like we are in Windows 98, but the functionality and convenience are at the highest level. It will easily identify any type of subtitles. And all the settings for the display you will find in the main menu “Play > Subtitles”. In the Media Player Classic, the rendering mode of VMR7 or VMR9 should be enabled (see View menu -> Options -> Play -> Output).
MPlayerX
Not the most popular, but incredibly user-friendly OS X player is MPlayerX. This is the choice of many users for this operating system. With subtitles, it copes without problems. If you want to configure it more precisely, just open the “AVS > Switch Subtitle” menu.
Totem
This is the default player in Ubuntu Linux. Totem works stable, subtitles display as it should. All settings in the menu “View > Subtitles”
Don’t forget! If the subtitles are in a separate file, then it is better to also call it as a video file.