Our passion is to reach restless minds like yours, tools that help you to give your designs a boost. Therefore, in this post you have a tutorial to learn how to create the “double exposure” effect in Photoshop.
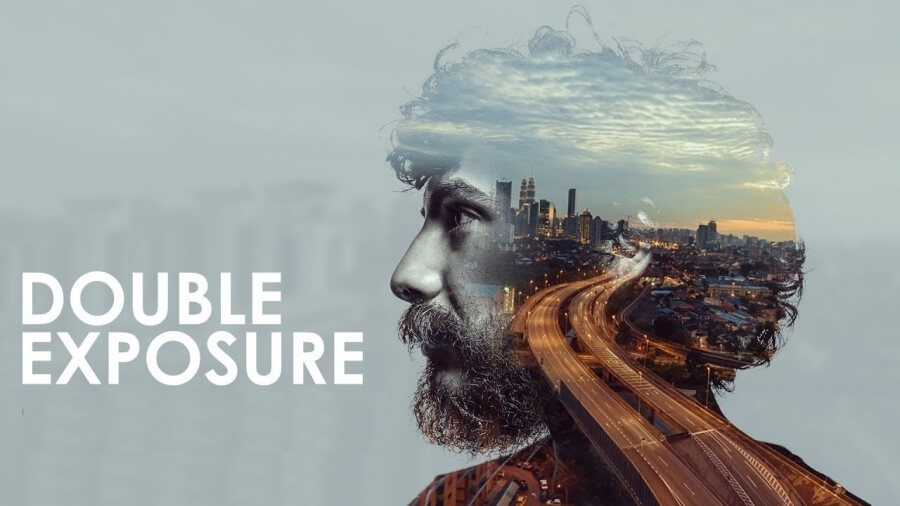
This effect is being a trend, and knowing the theory, depending on the type of images you use, you can achieve very varied results. Before we begin, we are going to discuss what “double exposure” consists of. Double exposure is the effect that arises when we superimpose one image on another, so that the two merge into one. But since a picture is worth a thousand words, here are some examples of double exposure, so you can see what we mean.

Now we are going to start with the tutorial to create the “double exposure” effect.
To start, you will need the two images that you are going to overlay:
• The main photograph, which will determine the “figure” or shape. It is important that you have “white” space that clearly delimits the shapes of the image (like the ones you have seen in the examples).
• The secondary picture, which in our case is a texture. Although it can also be another type of image.

STEP 1: Correct Brightness and Contrast
Create a Photoshop file and insert the main image. Set it well on the work table. Once you have it well placed, we are going to give it more brightness and contrast, so that there is a difference between light and dark tones. To do this, go to Image → Adjustments → Brightness / Contrast, and adjust the parameters.

Step 2: Fund Selection
Now, we are going to erase the background. That is why I recommended using an image with a background that is as neutral as possible, as this will make it easier for you.
Let’s do it in a simple way. Select the magic wand tool, and click on the background.

If you see that some elements of the image have been included in the background selection, remove them from the selection with the lasso tool which you find any mobile application.
In the image you have these parts marked in red, so you can see what we mean.
Make sure to check the option that we show you in the image, so that next to the bow you get a sign – .
This ensures that you remove from the selection.

Select all the parts that do not correspond to the background, so that you only have this one selected.
And now, remove the background. You will have something like that.

Finally, create a new layer and paint it a light, neutral color. For example, white.
This will be the background color of your composition.

STEP 3: Insert The Secondary Image
Insert the secondary image, the one with the texture. Remember: Go to File → Place Embedded Elements
Adjust it keeping in mind that you will only see texture in the part of the main image that you have now (not in the background).
So rotate the image, flip it over, zoom in …

Don’t worry, because you can change and move it later anyway.
STEP 4: Make The Clipping Mask
It is time to create the clipping mask, which will be the basis for the double exposure.
To do this, right click on the secondary image layer and select the “Create clipping mask” option.

You will see that the secondary image is “cropped” following the shapes of your main image.
This is why it is so important to select an image that has white space. If not, you will not get this effect.

STEP 5: Shape The Double Exposure!
As you know by now, double exposure consists of blending two images. At the moment we have half the way done.
Now let’s go to the second part. You will see how easy!
You just have to lower the opacity to the secondary image layer. The key is to find the midpoint where the images blend seamlessly.

Now you can move the secondary image, if the “visible” part of it does not convince you.
And you can even retouch it in color, put it in black and white …
Depending on the color affects you apply to each layer, one result or another will remain. Give wings to your imagination!