Netgear Genie app comes with an AirPrint feature that lets you take print outs from your iOS device at any time. Once can access this functionality via Notes, Photos, Apple Safari, Mail, and other apps having print ability. This feature provides support for iOS version 4.2 or later.
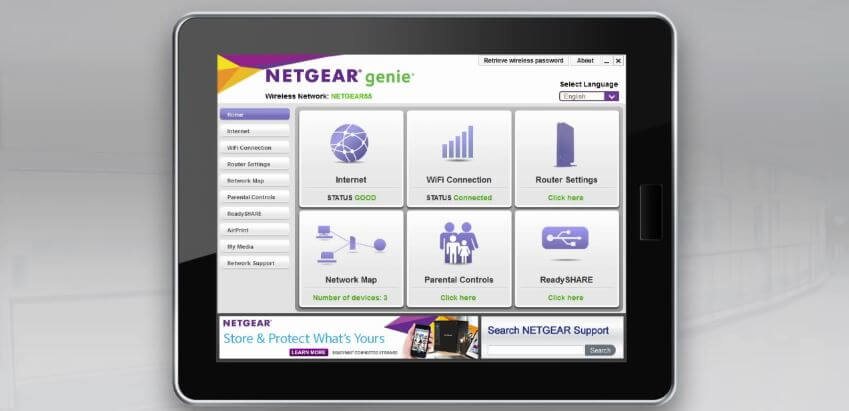
The app makes your Netgear WiFi Range Extender Setup an easy process. Apart from this, it lets you monitor, control, and change network settings according to your needs. Once you log in to the app, it will take redirect you to mywifiext where you can modify settings of your WiFi network.
In addition to New Extender Setup, the tool includes remote access function. With the help of it, users can access their network even when they are far away from house or office. If you use Amazon Alexa, then you will be glad to know that you can handle network with your melodious voice.
That was a brief description for the genie app. Now, let’s come to the point that how to take out prints from iOS device using it.
Step-by-Step Guide to Get Prints from IPad via Netgear Genie
1. Install and Download the App
In order to use AirPrint feature, you need to download it on a computer or laptop running Windows or Mac operating system. It is compatible with Windows Vista, Windows XP SP3, Windows 8, and Mac OS 10.6 Snow Leopard or higher.
Users can grab it from the official website of Netgear. Once there, hit Download button. Wait for a few minutes and let the installation process complete. As soon as it successfully downloads, it starts on its own. You don’t need to do anything. In case you need to use it later, click on icon resting on your desktop.
2. Set up an AirPrint Printer
Firstly, users have to turn their printer into an AirPrint printer with the help of desktop app. To do so, walk through the steps below:
- Connect your PC to the network of router.
- Also, connect printer to the network of router.
- There are two ways to do so: Use USB cable and connect your printer either to computer’s USB port or router’s USB port.
Note: For setting up this connection, there’s ReadySHARE Printer must be installed on your PC and it must be supported by your router.
- Connect printer to WiFi network of router either via manual method or WPS one.
- Manual method works in the same way as that of Netgear Extender Setup. Here, you have to manually type WiFi settings of router such as SSID, security type, password, etc.
- You can use WiFi Protected Setup or WPS method in the same way as that of Netgear New WiFi Range Extender Setup.
- One can also make use of an Ethernet cable to connect printer with router via an Ethernet connection.
- Confirm that your PC has Acrobat Reader as well as iTunes installed on it.
- Check if your desktop has a reliable connection with printer or not.
- Open genie app on computer and click on AirPrint button.
- You will be presented with a list of available printers which your PC can connect to.
- Choose printer that is already connected to network of router.
Once done, you are now all set to take out prints from an iOS device such as iPhone and iPad.
Read Also: Mywifiext Setup Guide: Extend your Wifi Coverage with Ease
3. Use AirPrint and Get Prints from IPad
Follow the instructions below to get the job done:
- Initially, ensure that AirPrint printer has made a connection with network of router.
- Look for WiFi network of router and connect your iPad with it.
- Select a file you want to print.
- Finally, tap on the button that reads Print.
After doing so, a printer menu will open. All you need to do is simply choose the AirPrint printer. Next, hit Print option to complete the task. Not only this, but users can also utilize this app to install New Extender Setup.